How to Install CC Camera?? HIKVISION Camera Setup guid
Unknown
February 28, 2019
Set up Process
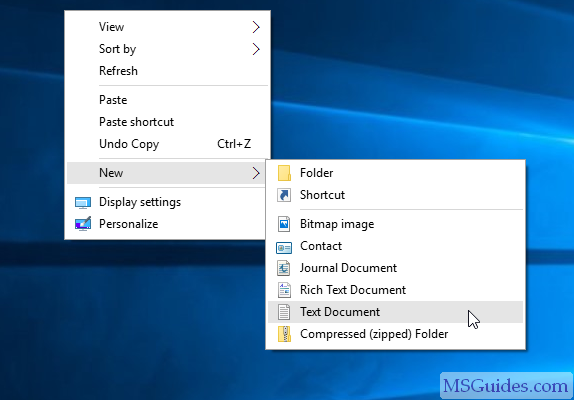
Set up memory and storage of the video cameraOpen camera and insert memory card. In order for you to save video files you will need to purchase a micro sd card. This allows the camera to be set to record files directly to its local storage. You will have the option to record video continuously or at different time intervals. For our camera I use a Sandisk Ultra micro SD card.
SD card storage in the Hikvision camera
Connect the camera to the network and power
Next you will need to power up the camera and connect it to your local network. There are two methods to doing this.
Method 1: Using a power supply and ethernet
Connect the DC power supply with at least 12V and 2A to the power plug connector on the camera wire. Next connect an ethernet cable from your Router/Switch to the ethernet port on the camera cable (NOTE: the ethernet cable should be connected to the same Network device (Switch or Router) that the computer you will be monitoring from is connected to.
CCTV IP camera
Method 2: Using PoE
If you have POE enabled switch or POE injector adapter you can plug in an ethernet cord from the camera to the PoE enabled switch for power and Network connectivity
PoE connected CCTV
Software Setup
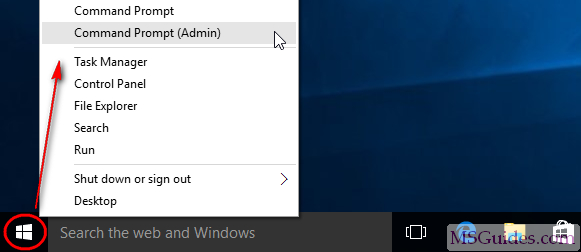
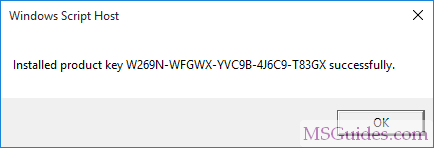
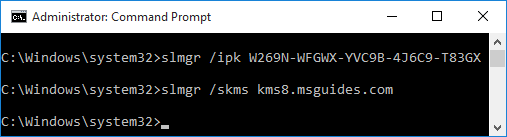
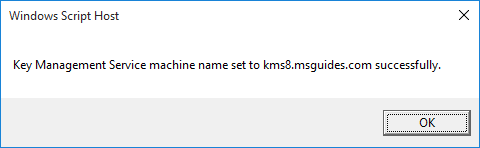
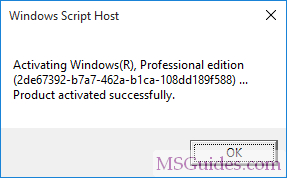
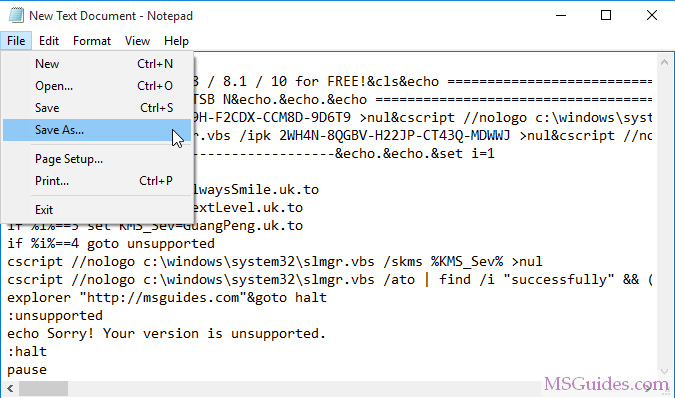
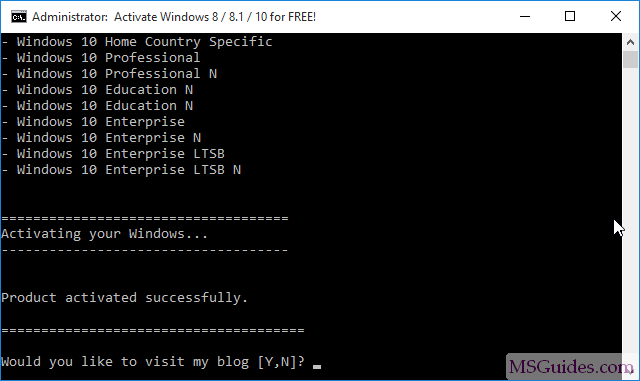
Once Everything is connected you need to download the SADPtool from Hikvision to activate the camera. First of all – of course you need to be aware that this only runs on Windows – sorry MAC folks! Once installed you will need to reset the password and activate the camera through this tool.
Software Management Hikvision CCTV
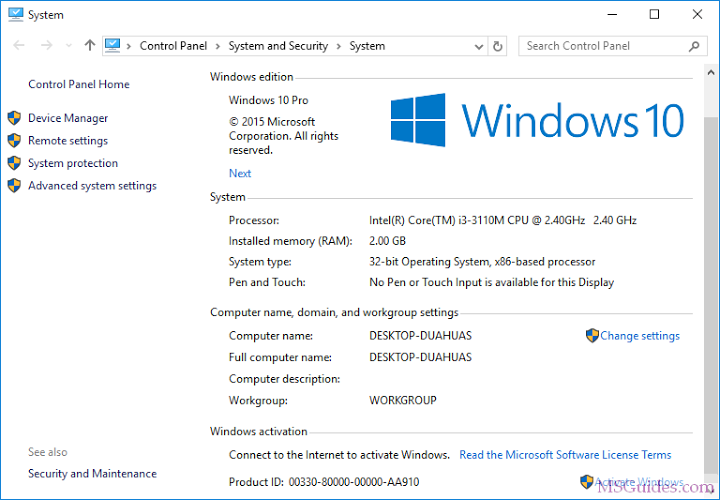
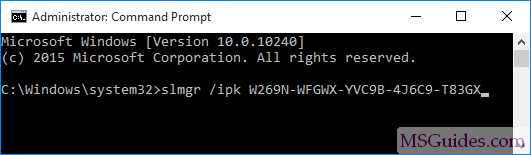
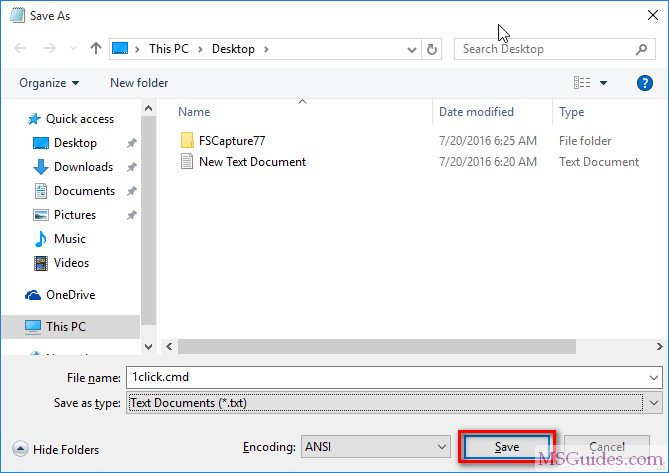
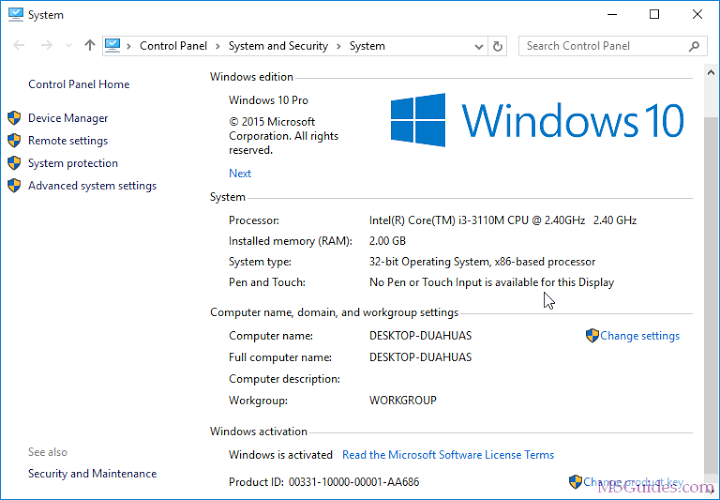
Next I went to windows start menu and opened the “command prompt”. Typing in “ipconfig” to see your network settings .The subnet mask and default gateway should match on the sidebar of the SADPtool. I would recommend for the IP address in the SADPtool that you change whatever the default I.P. address is assigned. For my example choose 100. (192.168.1.100)
camera IP config
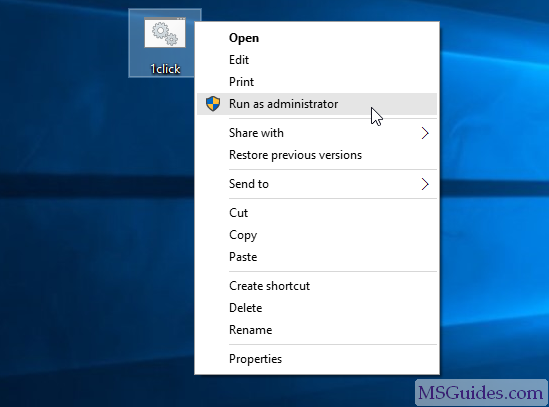
You will need to login to the IP cam through an internet browser. This proved to be the most difficult step because no where in the Hikvision instructions addresses that google chrome isn’t currently supported for the with their platform. I.E 8 works and you will need to download the “Web Component” plugin for it to work.
browser video camera
HIK video quality
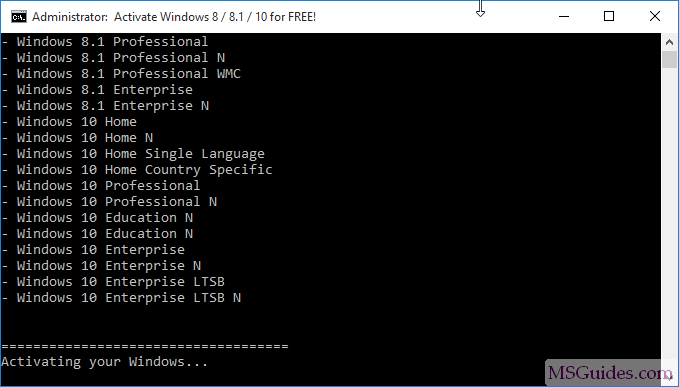
Video Quality
When zooming in, here some snapshots of the results you get:
screen recognition HIKvision
Benchmarking of Hikvision
Ok after this setup, here is my personal judgement – let me know if anything is incorrect or could be improved..GREAT
- Saves directly on a microSD card, so no expensive DVR needed
- Includes a PoE cable for easy powering and installation
- Video quality is decent you can clearly see faces and also has a great night vision feature
- Packed with a lot of features like saving to memory when motion is detected also selecting the time of day you want to start recording
- The web interface only uses older web browsers like IE 8 (if you like google Chrome forget it)
- UI is clunky and outdated looks like 1995
- No clear instructions of where SD card is supposed to go (Thank god for Youtube)
- When using the cameras digital zoom things become pixelated
- The camera itself has to be changed to a desired position you cannot change the camera position using the web panel.
- Needs to be a little I.T. savy to figure out which ip address for the camera
How to Install CC Camera?? HIKVISION Camera Setup guid
 Reviewed by Unknown
on
February 28, 2019
Rating:
Reviewed by Unknown
on
February 28, 2019
Rating:
Reviewed by Unknown
on
February 28, 2019
Rating: